

Outlook 2019, 2021 and Office 365 setttings
Step 1:
After starting Outlook, the mailbox wizard will be launched immediately - the account will be set up as an IMAP account. If you are creating a new mailbox next to an existing one, you can start the wizard by going to File -> Information -> Add Account.
To set the email address, select to set the mailbox manually.

Step 2:
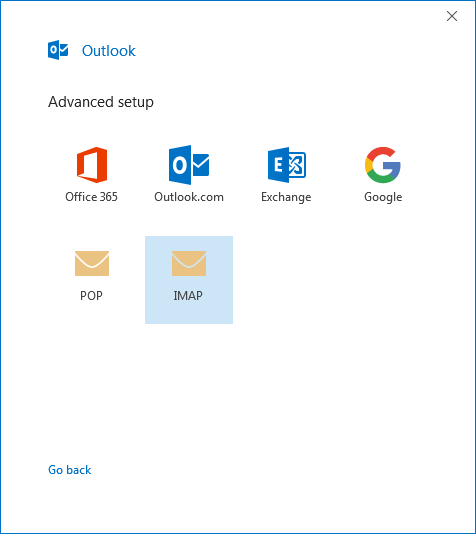
Select the POP or IMAP icon, then click on it.
Step 3:
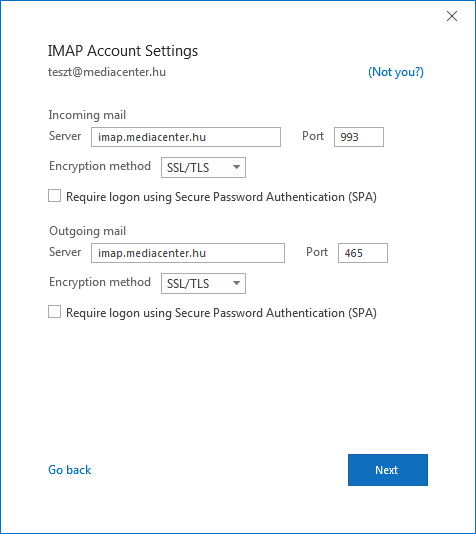
Where also the data shown in the picture, enter it exactly like this in case of IMAP!
Step 4:
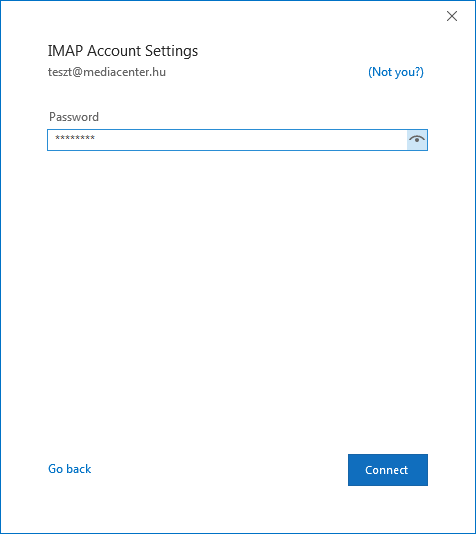
Enter the password for your mailbox.
Step 5:
Click on the READY button.
This means that the mailbox creation was successful with IMAP!

If you want to set up a custom SMTP mail server or POP3 account, you need to do the following:
Click File -> Information -> Account Settings, then Manage Profiles!
In the window that pops up, click on the E-mail accounts... button!
- if you want to create a POP3 account, click on "New...", where the previous interface will be loaded, but instead of IMAP, select POP. To do this, you will need to enter the following information:
Incoming and outgoing server details:
- POP3 server address: pop3.mediacenter.hu
- Username: full email address
- Password: password associated with the email address
Port numbers:
- Server for incoming messages: 110 (or 995 for SSL)
- Outgoing SMTP server: 25000 (or 465 for SSL)
